Crispy, savory protein-packed pancakes filled with zesty kimchi and crunchy mung bean sprouts! You will love Mung Bean Pancakes!
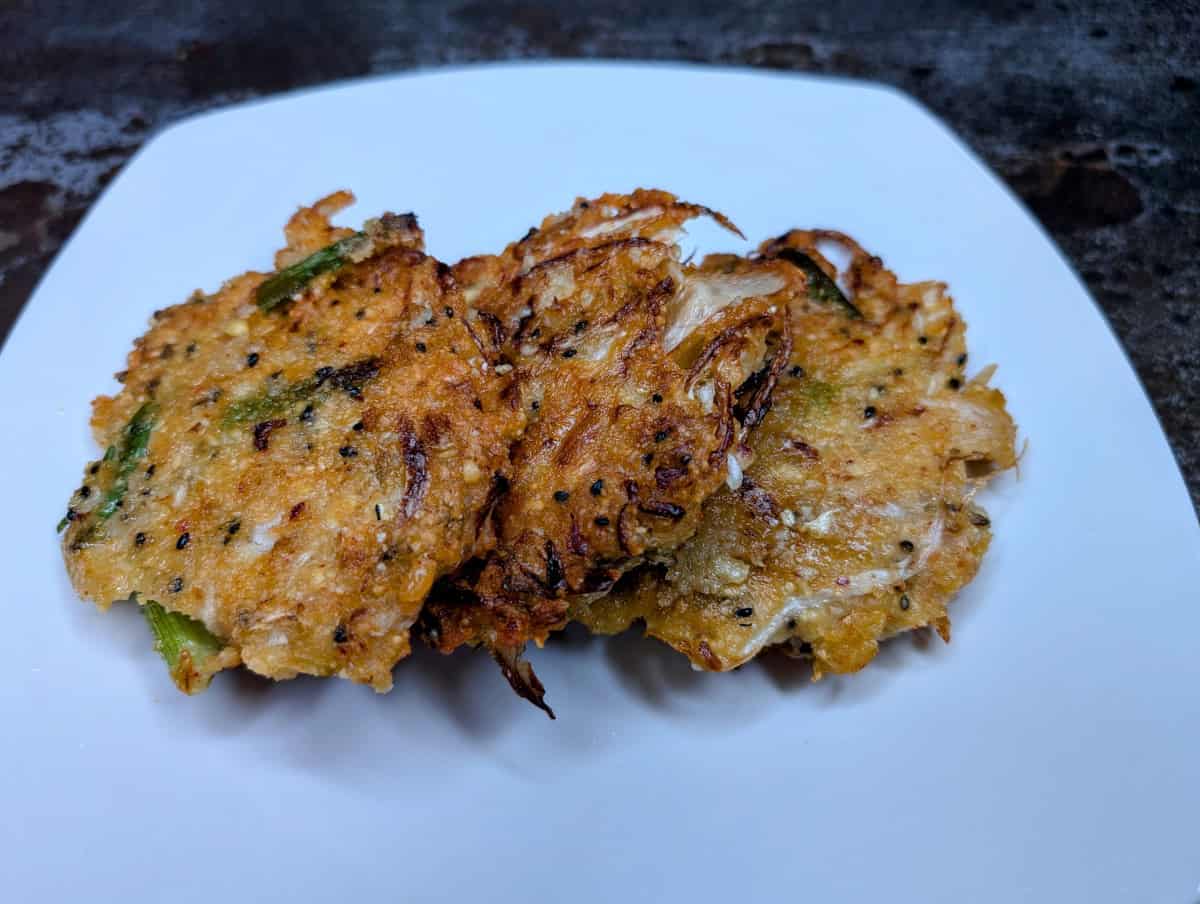
Mung Bean Pancakes, also known in Korean as bindaetteok, nokdujeon, or nokdu bindaetteok, are one of those quintessential Korean dishes. It is a classic part of holiday meals, as well as a highly popular street dish!
I love to eat Mung Bean Pancakes as the main dish, or as a side with Bibimbap or Bulgogi. They are amazing as a sandwich, between two pieces of bread packed with kimchi and slathered with mayo mixed with Gochujang Sauce.
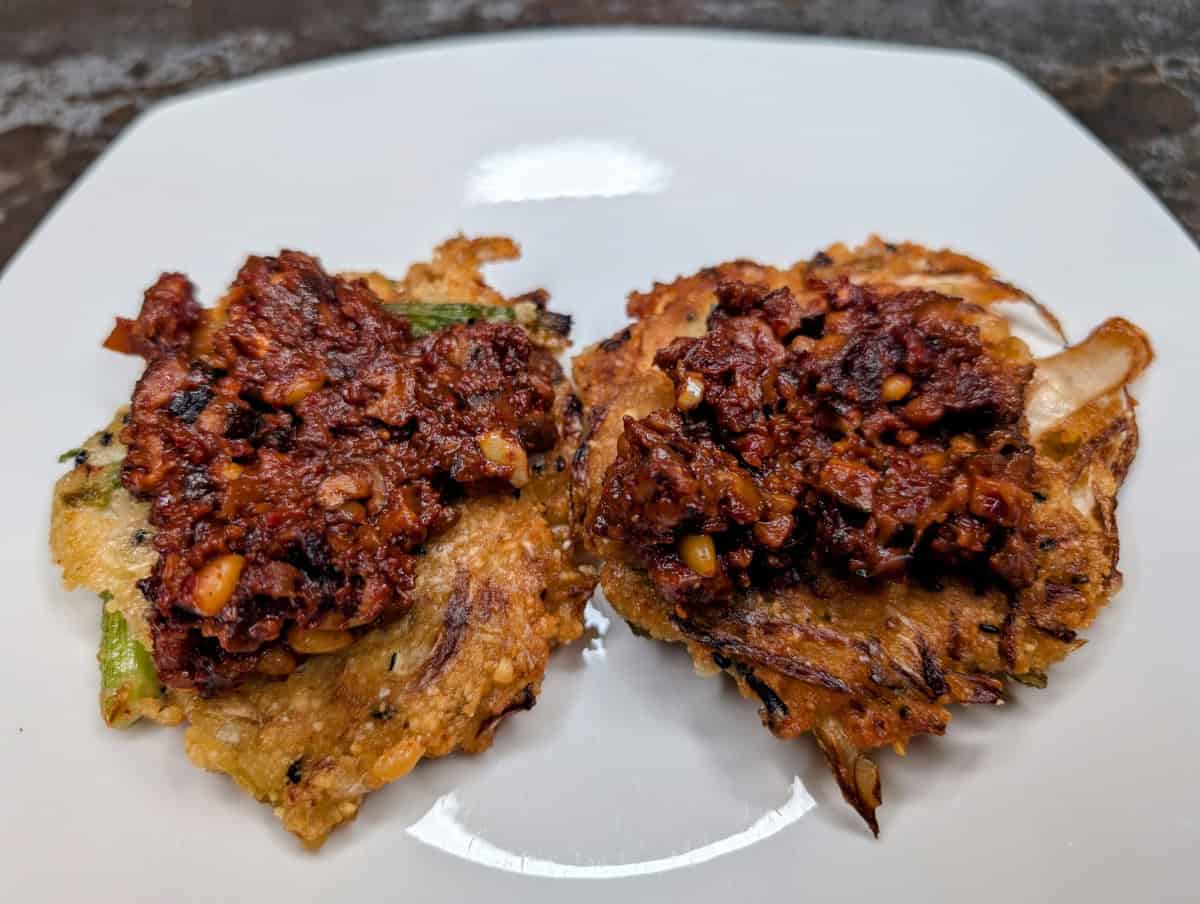
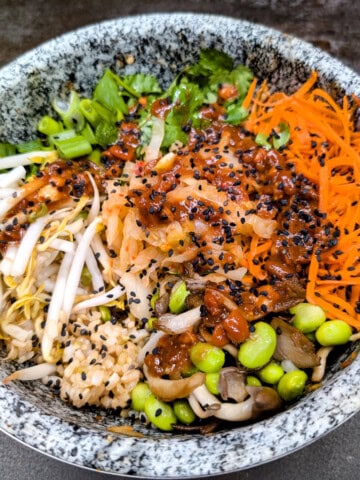
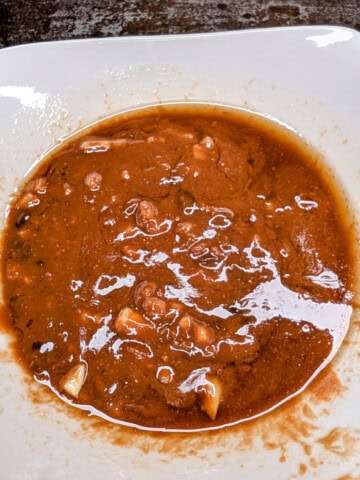
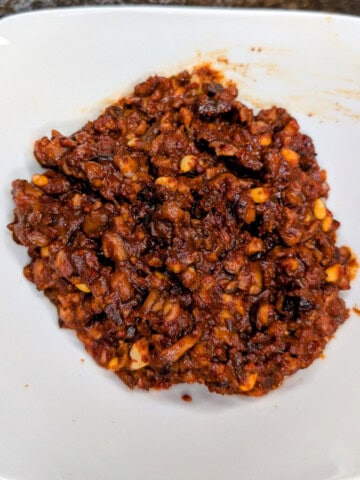
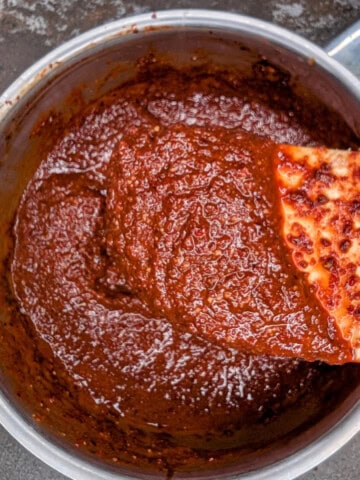
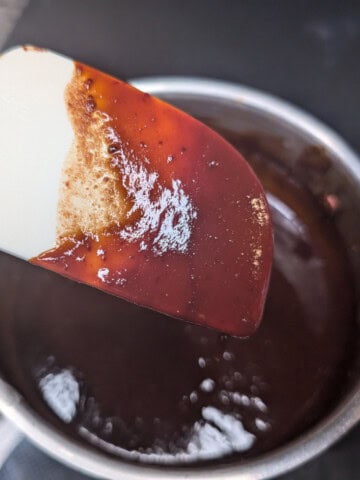
The Mung Bean Pancakes below are topped with Yak Gochujang Sauce. You could also use Korean BBQ Sauce, Gochujang Sauce, or Doenjang Sauce as a topping. If you don’t want to top the pancakes with a sauce, thin your sauce of choice to a desired consistency and dip bites of the pancake in the sauce. You can also make a simple dipping sauce with soy sauce, tamari, or coconut aminos, rice vinegar, and some toasted sesame oil.
These Mung Bean Pancakes are 100% gluten free, protein packed, full of fiber and healthy probiotics, and amazingly delicious!
Jump to:
Ingredients
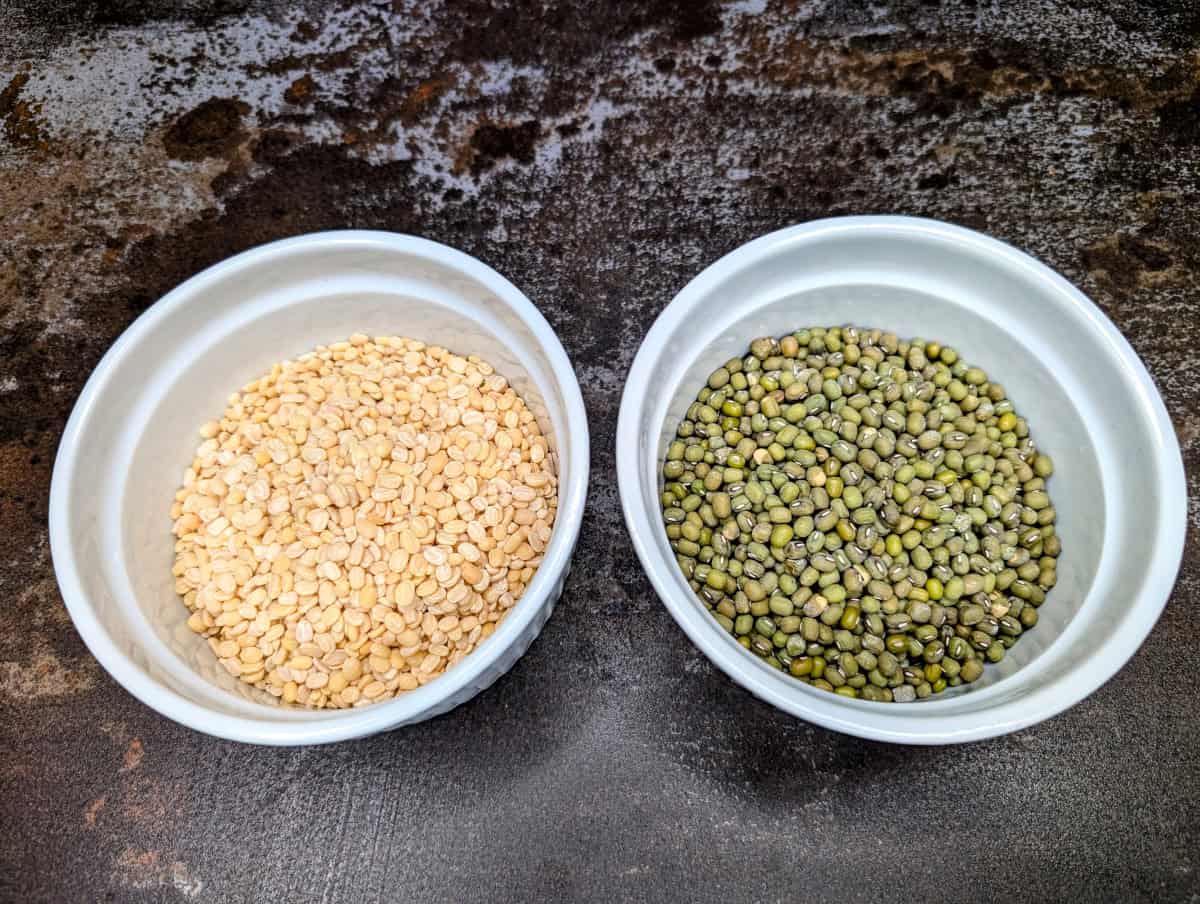
The time to make this dish is very much dependent on the mung beans you choose. The picture on the left shows mung beans that have had the skins removed and the beans split in half, while on the right shows whole mung beans with the skins still on. You really want the skins removed, so if you don’t buy the pre-skinned beans, you have half an hour to 45 minutes of extra work ahead of you.
- Mung Beans
- Mung Bean Sprouts
- Kimchi
- Scallions
- Black Sesame Seeds
- Sesame Oil, preferably toasted
See recipe card for quantities.
The mung beans are the basis for the Mung Bean Pancake batter.
The mung bean sprouts provide some texture contrast, and have a nutty, earthy flavor.
The kimchi gives some zing to the pancakes! Get good quality kimchi, or, better yet, ferment your own! I really love the recipe over at Simple Veganista, it is so simple and tasty.
The scallions give a fresh, oniony flavor as well as a vegetal, peppery flavor from the greens.
The sesame seeds give some pop and some color contrast, while the sesame oil adds a complex, nutty, smoky flavor.
Instructions
The recipe below is assuming that hulled and split mung beans are used.
If you use whole beans with the skins on, you will need to get the skins off. To do this, soak them overnight and do not add the rice.
The next day, soak the rice in a separate bowl. Drain and rinse the whole beans and place them in a bowl of water.
Start rubbing the beans between your palms. This will pull the skin off. Drop the beans back in the water, the skins will rise to the top and you can skim them off. Periodically drain the water from the bowl and refill. You may need to do this 8-10 times. You don’t need to remove all of the skins, some are fine, but you do want to try and remove as much as you can.
Add the rice to the beans and pick up at step 3 in the instructions below.
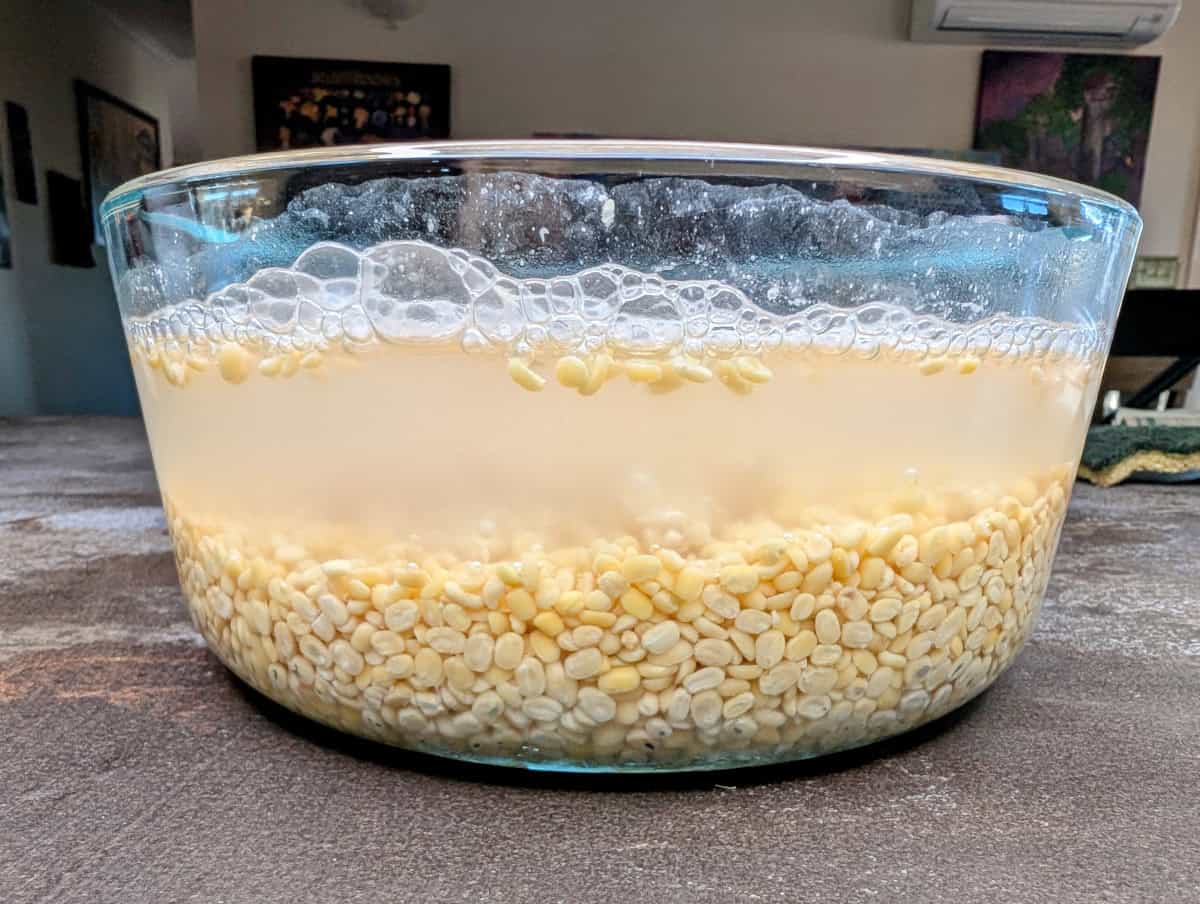
Step 1: Place the mung beans and rice in a bowl and cover with water
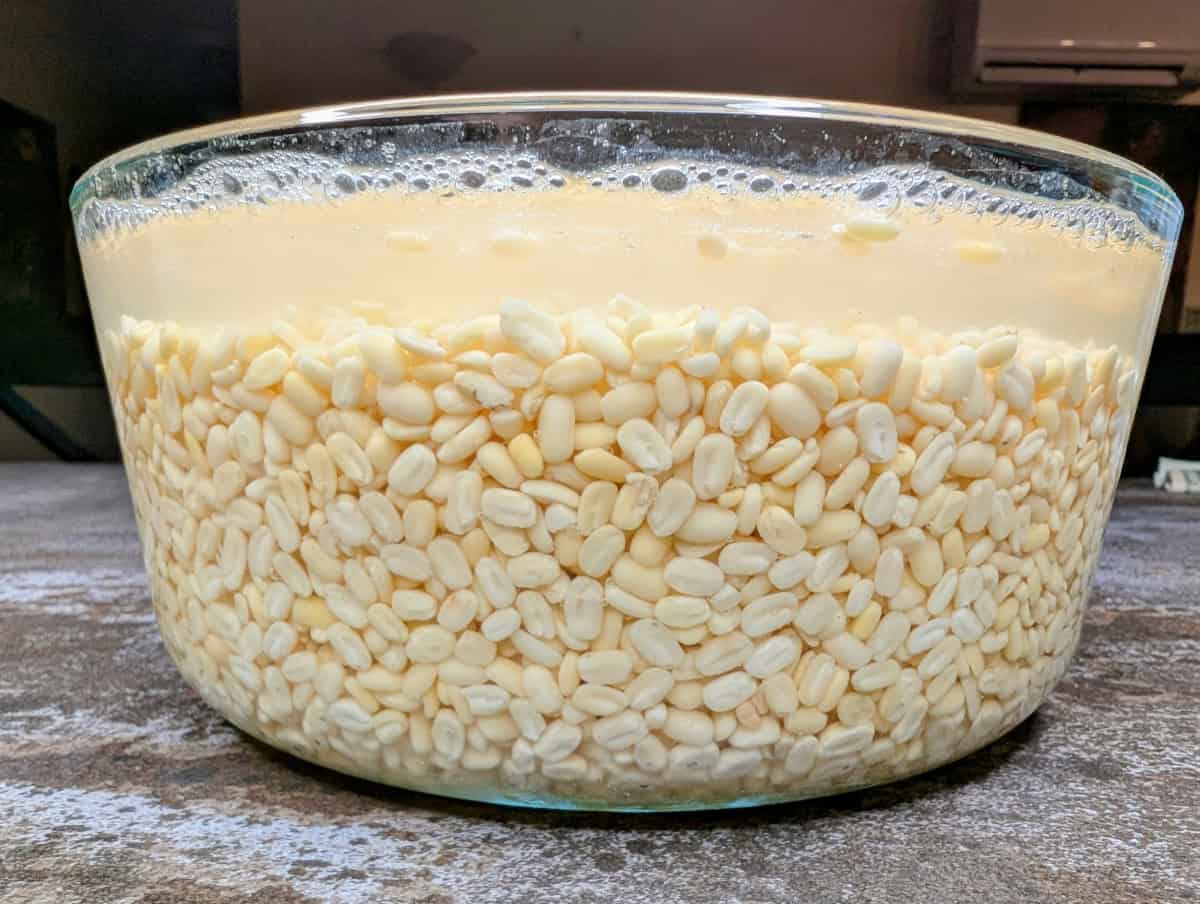
Step 2: Let the beans soak for at least 4 hours or, preferably, overnight
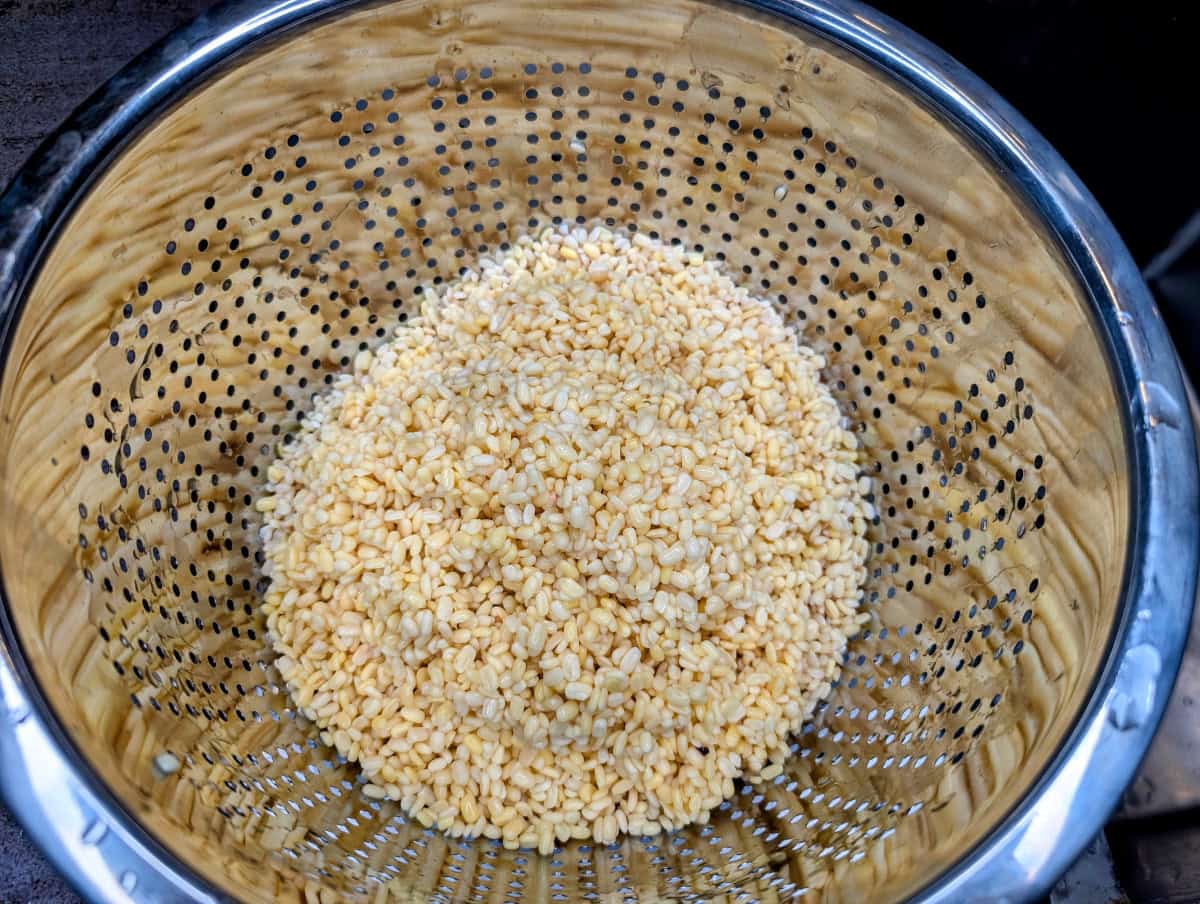
Step 3: Drain and rinse the beans
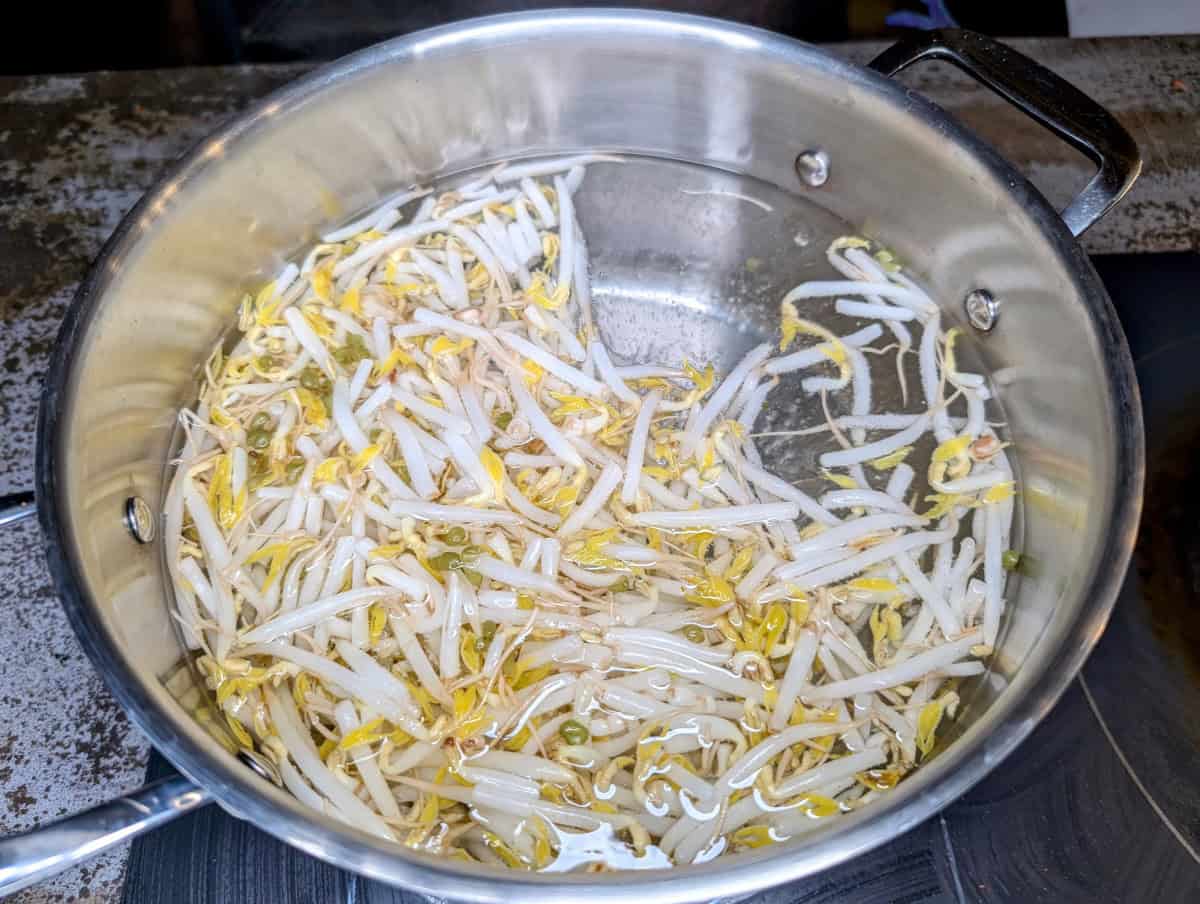
Step 4: You have a choice of using the mung bean sprouts raw, which means they will be a bit crunchier, or you can blanch them. If the latter, place them in bowling water for two minutes.
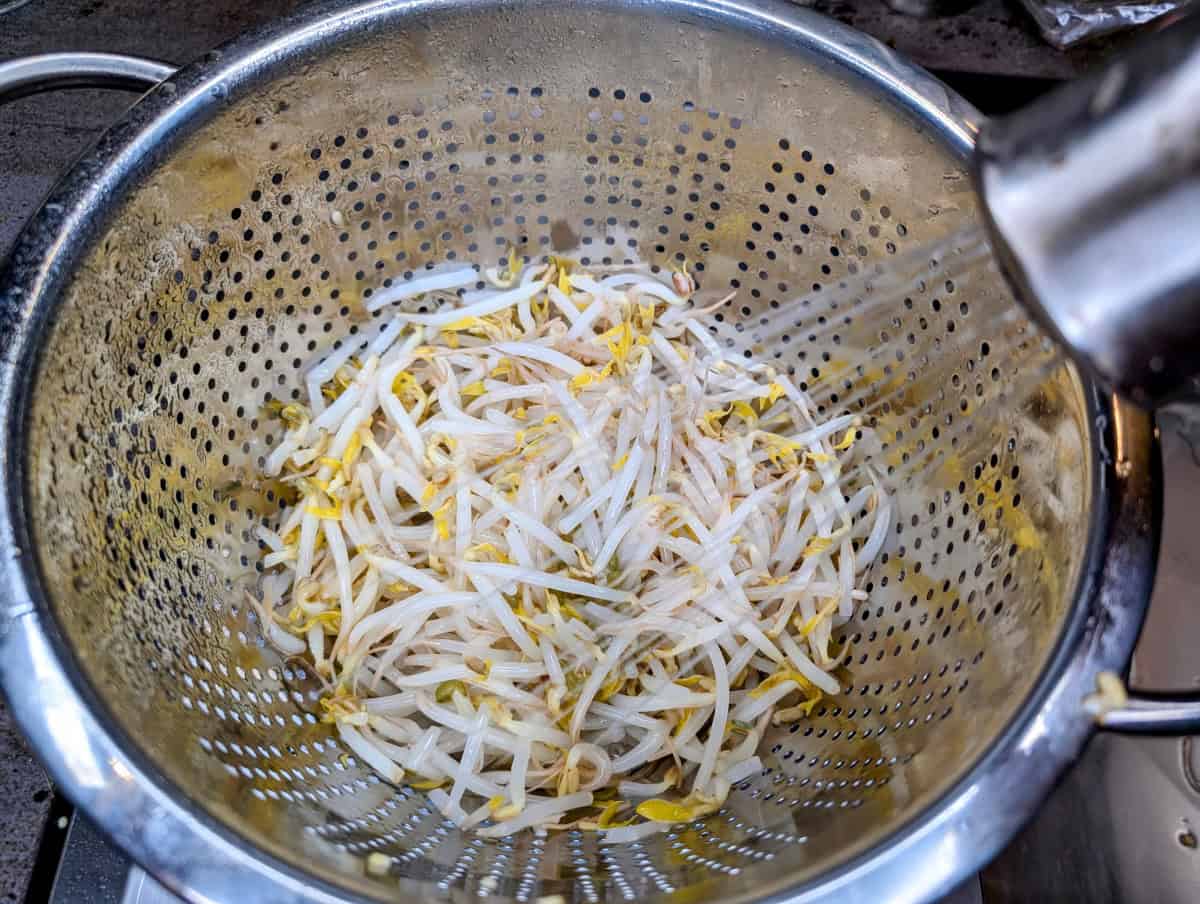
Step 5: If you boiled the mung bean sprouts, immediately rinse them with cold water to stop their cooking.
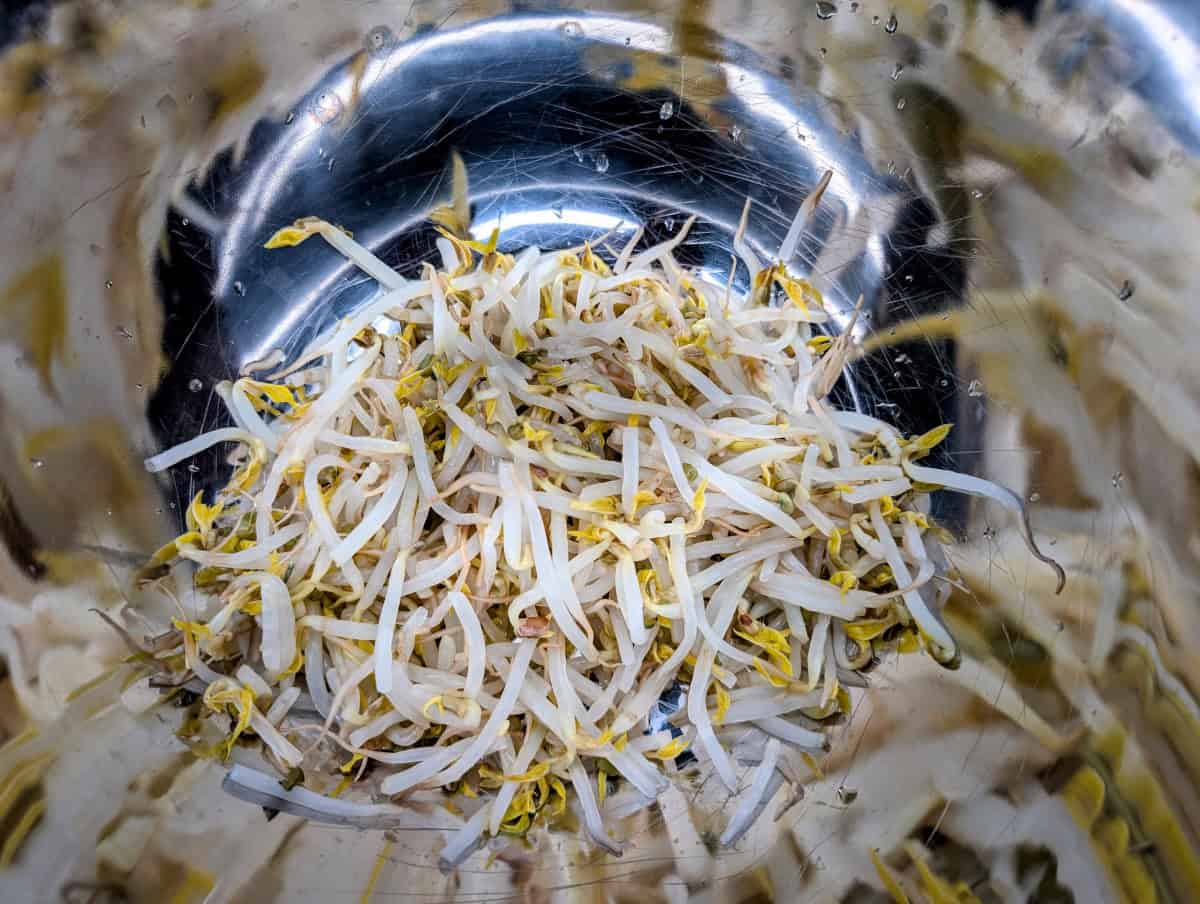
Step 6: Squeeze the sprouts dry and place them in a large bowl
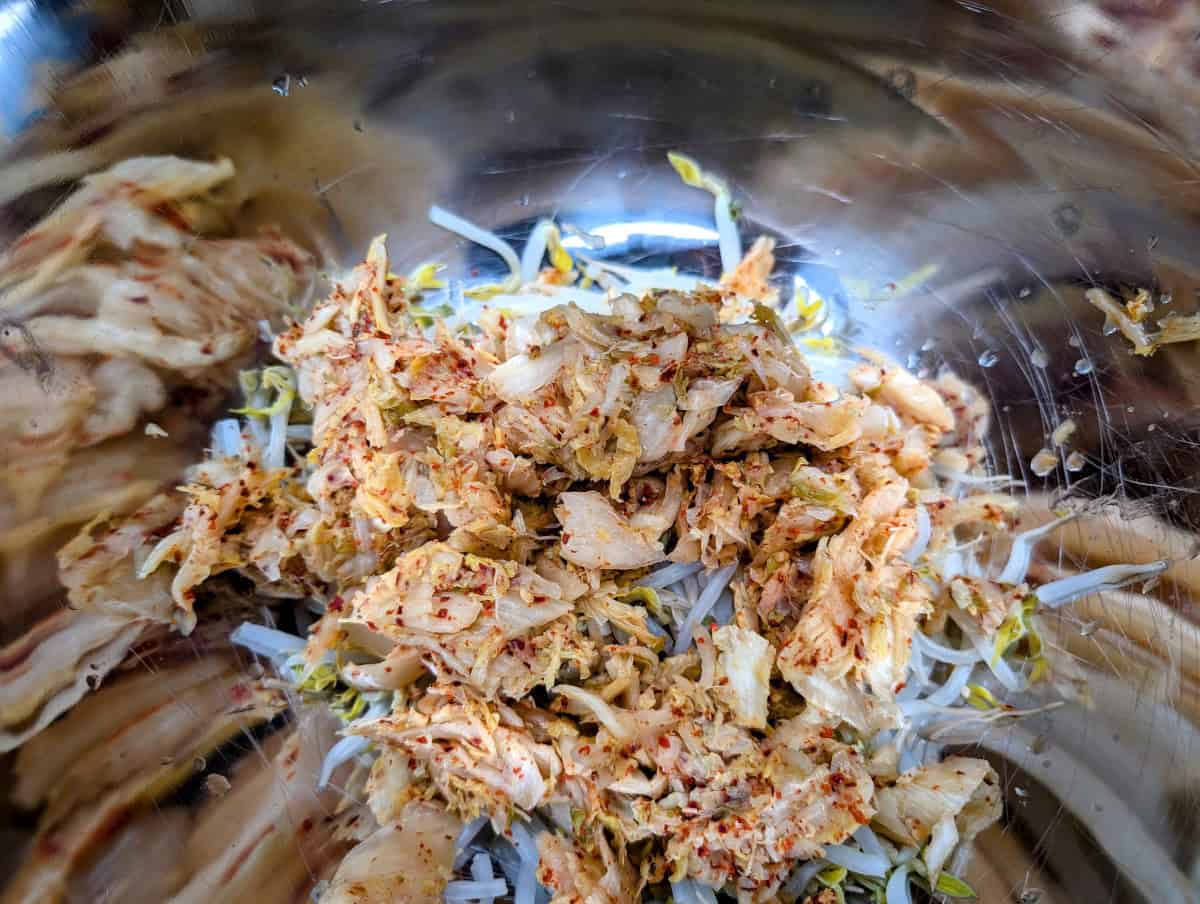
Step 7: Squeeze as much liquid as you can out of the kimchi. This is very important. Then place the kimchi in the bowl
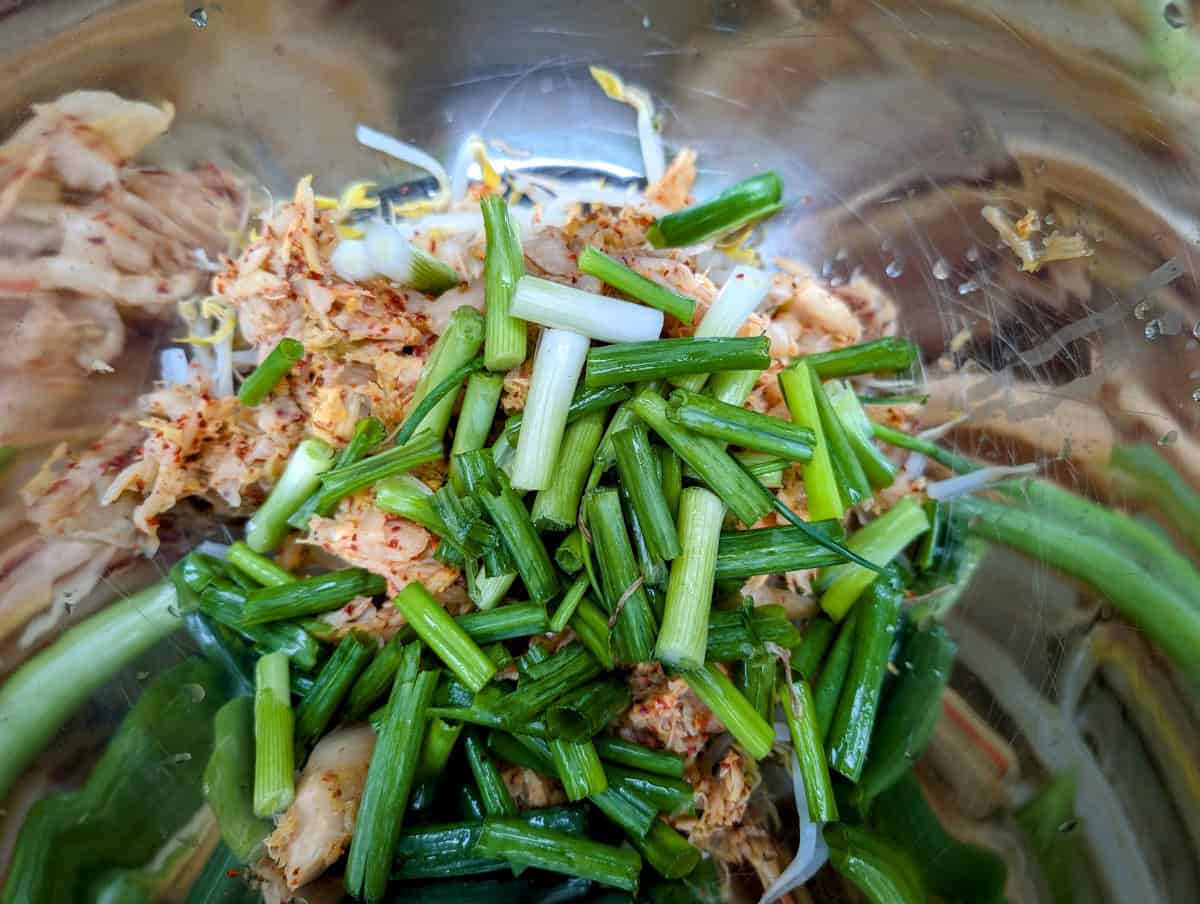
Step 8: Slice the scallions into 1 inch pieces and place in the bowl
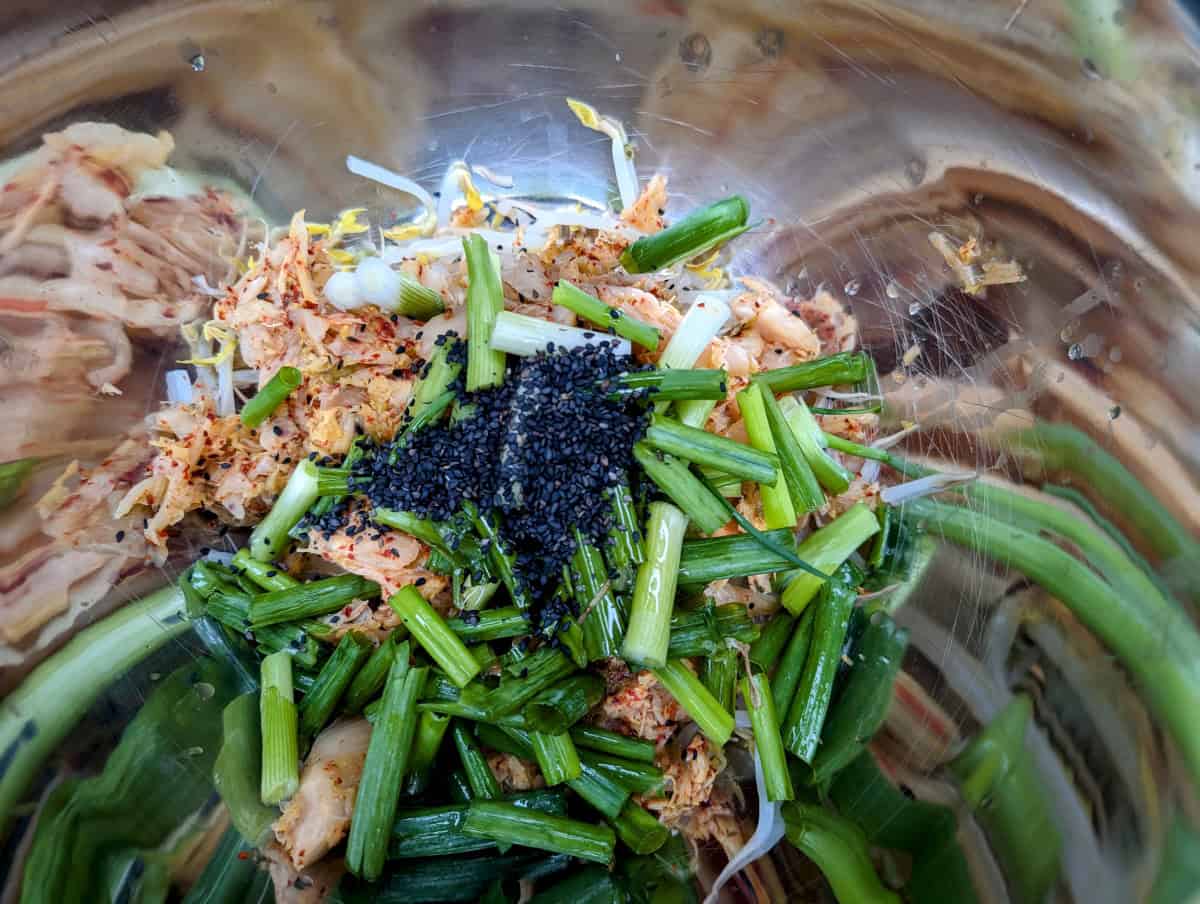
Step 9: Add the black sesame seeds and the sesame oil to the bowl
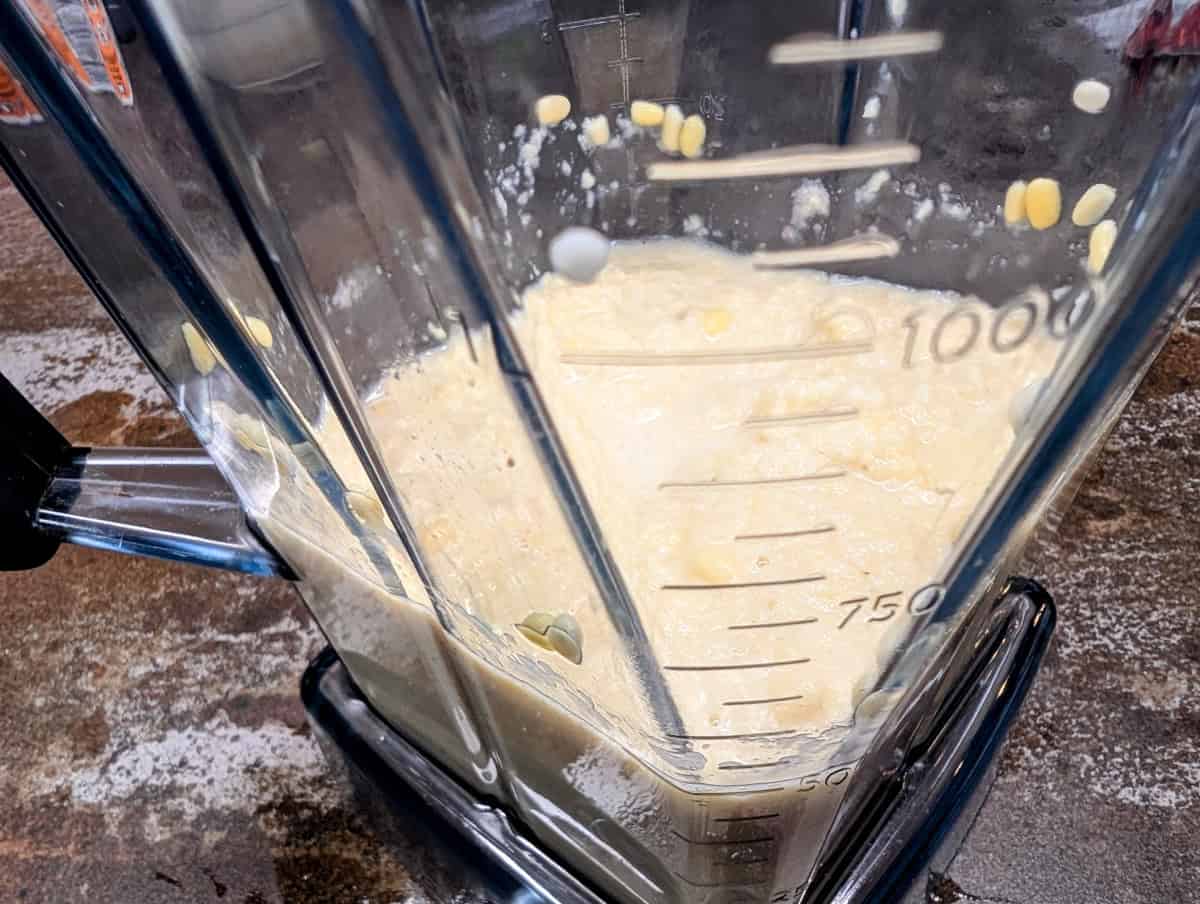
Step 10: Place the drained beans and rice into a blender and add ¾ cup water. Blend until you have a runny, coarse mixture
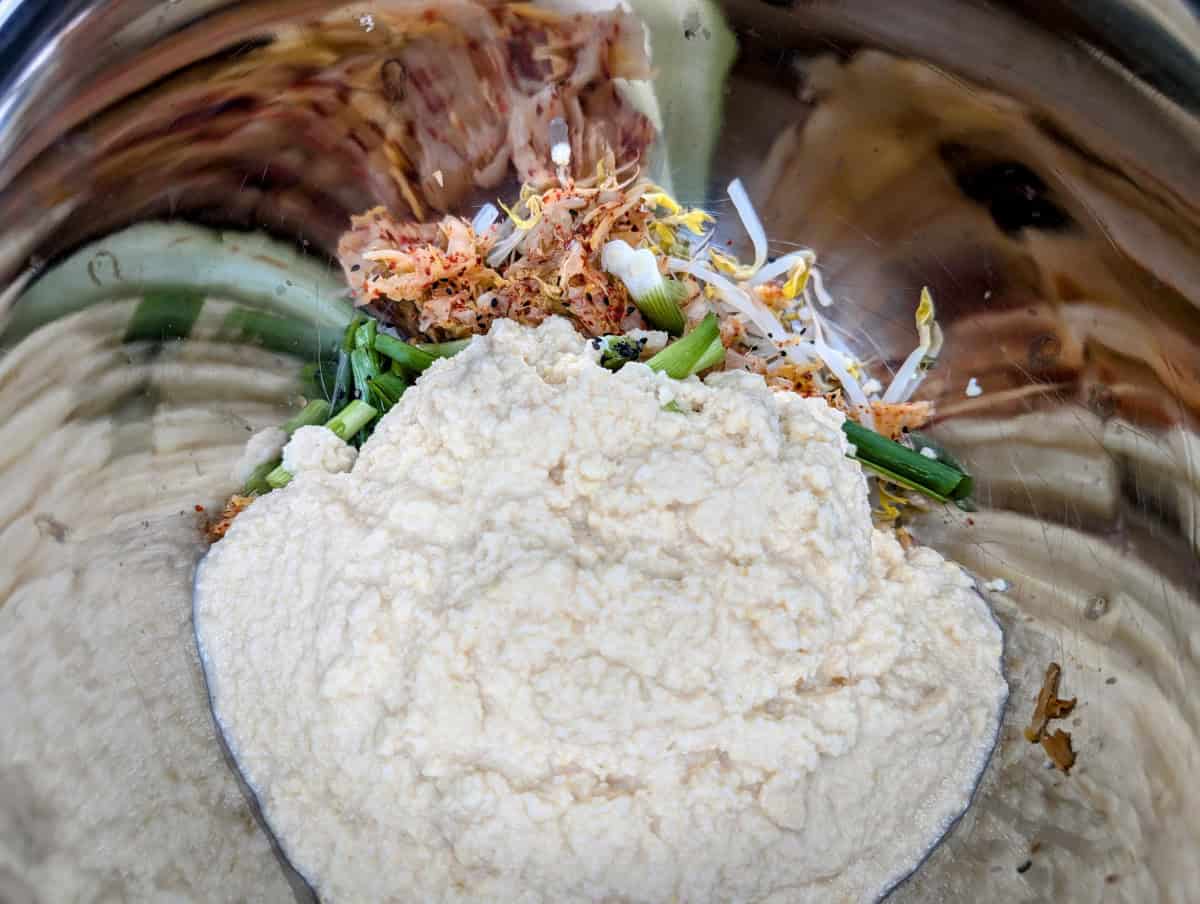
Step 11: Add the beans to the bowl
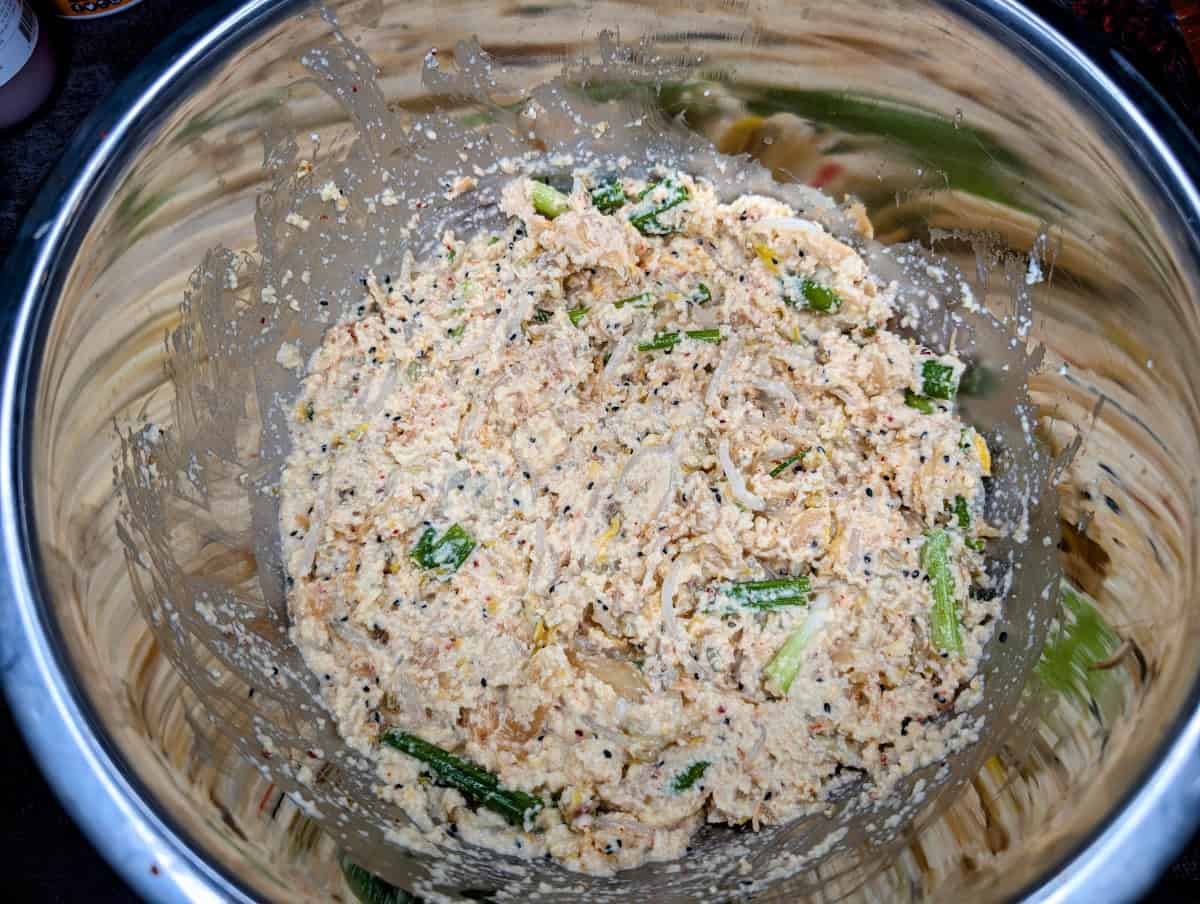
Step 12: Mix the contents of the bowl until well mixed
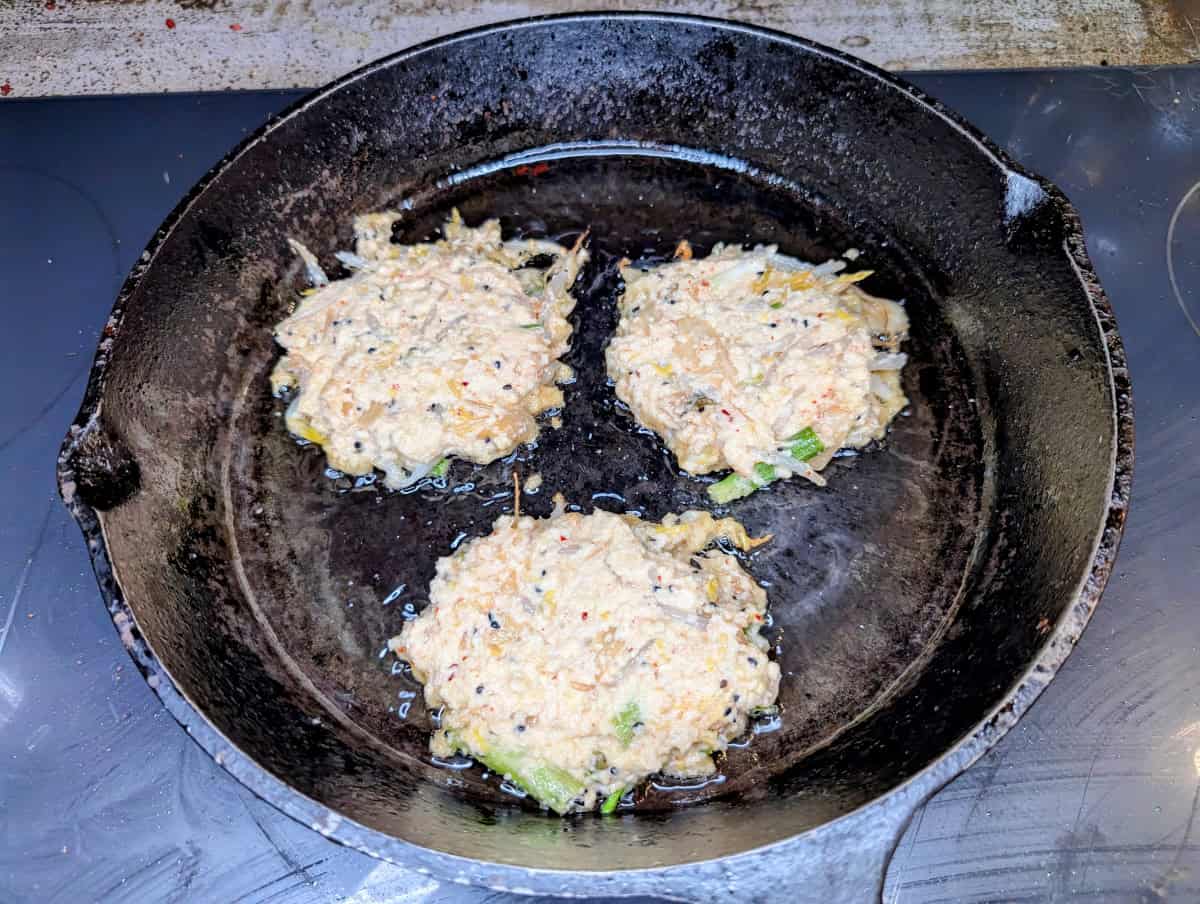
Step 13: Heat a skillet until hot over medium high heat. Add oil. When the oil shimmers, add the batter. I used a ⅓ cup measure here
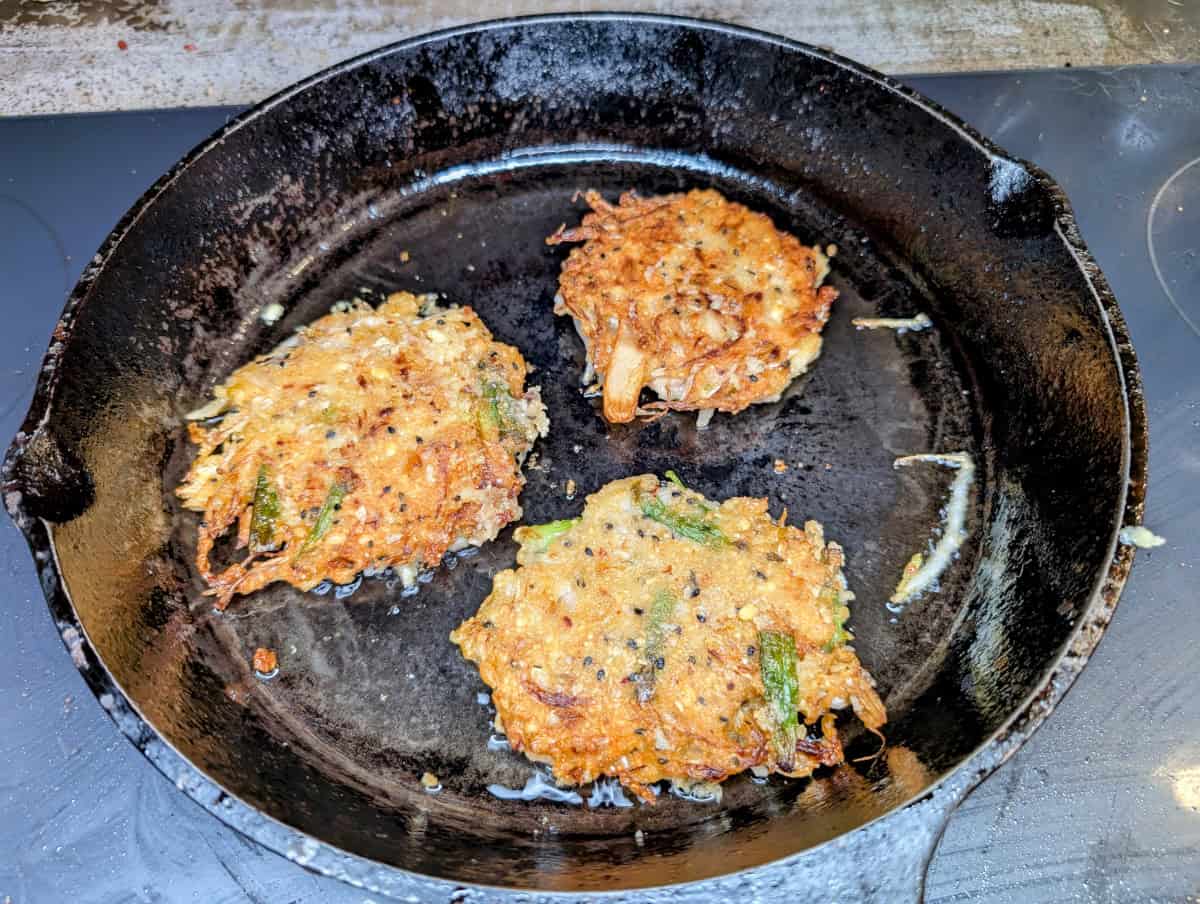
Step 14: After 2 minutes, the pancakes should be browned. Turn the heat down to medium, flip, and cook the other side until it is browned, about 5 minutes
Substitutions
You can replace the mung bean sprouts, whole or in part, with soy sprouts, or gosari. Gosari is also called fernbracken and is the immature frond of the bracken fern. Gosari is high in protein and dietary fiber, and is sometimes called the “beef of the mountain”. It has a chewy texture and an earthy, nutty flavor. It is very popular in Asian cooking.
You also just use only kimchi and the scallions as filling.
Variations
The Mung Bean Pancakes, by themselves, are quite mild. They can be spiced up by either using a spicy topping or dipping sauce. You can also add red pepper flakes or thinly slivered hot peppers, such as jalapeños or Fresno chilis, to the batter.
Equipment
- A cast iron or other heavy bottomed skillet
- A spatula
- A large mixing bowl
- A small bowl for soaking the beans. The bowl should be big enough to hold the beans and water covering them by over an inch or 2.
- A blender
- A silicon spatula
- A chopping knife
- A colander
- A measuring cup and measuring spoons
Storage
The Mung Bean Pancakes should stay good in the fridge for 4-5 days, though ours never last that long. They can also be frozen for a month or two. They can be microwaved, though they won’t be crispy any more, or you can add some oil to a pan and crisp them up again.
Top Tip
Make sure you keep the batter well mixed and make the pancakes as soon after you mix the batter as you can. If any water pools up on top of the batter, mix it well.
Related
Looking for other Korean-inspired recipes like Mung Bean Pancakes? Try these:
Pairing
These are my favorite dishes to serve with Mung Bean Pancakes:
Recipe
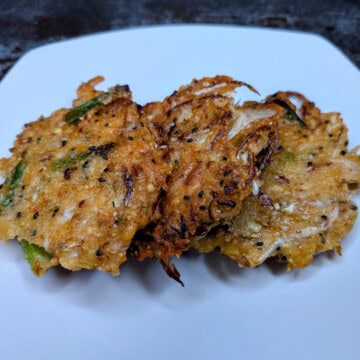
Mung Bean Pancakes
Equipment
- 1 Small bowl For soaking the beans. The bowl should be big enough to hold the beans and water covering them by over an inch or 2.
- 1 cast iron skillet or other heavy bottomed skillet
- 1 spatula
- 1 Large mixing bowl
- 1 Blender I love my Vitamix, but any good blender would be fine
- 1 silicon spatula
- 1 chopping knife
- 1 Colander
- 1 measuring cup
- measuring spoons
Ingredients
- 1 cup mung beans dried, split and hulled, if you can find them
- 2 tablespoons rice
- 2 cups mung bean sprouts
- 1 cup kimchi
- 3 scallions
- 1 tablespoon black sesame seeds
- 1 tablespoon sesame oil preferably toasted
Instructions
- These instructions are assuming you are using split and hulled mung beans.
- Place the mung beans in a small bowl and cover to twice their depth in water. Add the rice. Let them soak at least 4 hours, preferably overnight.
- Drain and rinse the beans and rice and set them aside.
- The mung bean sprouts can be used raw. But if you are going to blanch them, bring a pot of water to boiling. Add the sprouts and cook for 2 minutes. Immediately remove from the boiling water and rinse them under cold water.
- Squeeze the sprouts to remove moisture. Add the sprouts to a large bowl.
- Squeeze the liquid out of the kimchi (it does make a tasty, probiotic drink). Place in bowl. You want as much liquid out as possible.
- Slice the scallions into approximately 1 inch lengths. Add to the bowl.
- Add the sesame seeds and sesame oil.
- Place the beans, rice, and ¾ cup of water into a blender. Blend the beans until a runny, somewhat coarse batter forms. Add to the bowl.
- Mix everything in the bowl well.
- You should make the pancakes as soon as possible after mixing the batter. If any liquid separates, just mix the batter again.
- Heat your skillet over medium high heat. When hot, add a oil to cover the bottom of the pan. Once the oil is hot and shimmering, add in enough pancakes to fit into the pan.
- Let the pancakes cook for about 2 minutes and don't touch them. Slide the spatula under the pancakes to loosen them after 2 minutes. If they are browned and crispy, lower the heat to medium and flip them over. Cook them until crispy, about 5 minutes.
- Do the same with the rest of the batter, though leave the heat on medium.
- Enjoy!

Comments
No Comments